Outdoor Dreams

Outdoor Dreams

The fact that the weather is starting to warm up is filling my heart with happiness! With all the changes we are going through in this new world, we need some sunshine and the outdoors to cheer us up more than ever!

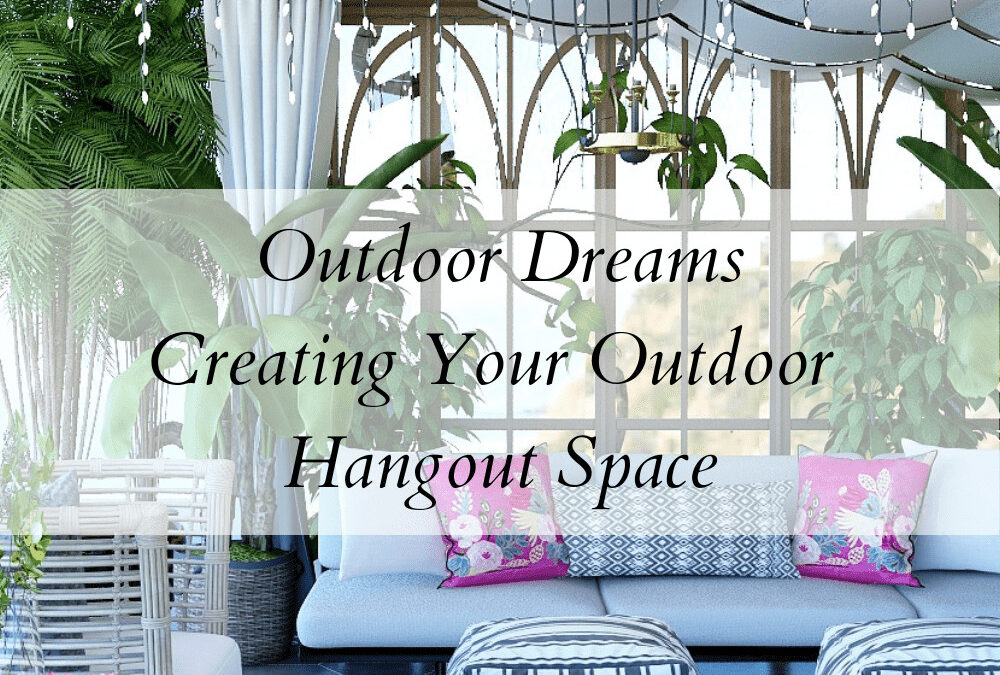
The image above is a 3D Rendering I created. 3D Renderings are a luxury add-on to my eDesign packages, prices start at $200.00 a room and up, depending on the complexity of the architecture and design. I also offer Concept Boards (see blue umbrella design below). Concept Boards are included in all my eDesign Packages and they help to show the mood of the space and products for the design.


Virtual Design for Outdoor Spaces

A perfect outdoor space that is pretty, relaxing and inviting while allowing for social interaction with appropriate distancing. A space where you can invite a couple of friends over (bring your own beverages and snacks), sit 6 feet apart and then talk and laugh to your heart’s content!

Below is a concept board I created for a sweet client and her family. She wanted a clean, fun, bohemian style with neutrals and pops of black. Comfortable seating and of course, little white lights. She needed help with a floor plan to make sure everything fit properly while staying within budget.

eDesign project for My Client

I am thankful she agreed that I can share her project. Basically, this is a visual of the process we went through – after she filled out a design questionnaire and sent me photos. Note the clickable shopping list = easy. She and her family love the new design and set up. Just a few more steps to get the lights hung and add some plants but you can see that it is coming along great!

Here is another dream space, a 3D rendering I created. What a setting…although the sun is a little bright for me, I would need an umbrella!

Feel free to message me with questions about your design project! I would love to help you via eDesign. We can work together online to create beautiful spaces for you! Your pace, style and budget and you don’t have to leave your house:)

Thanks for reading 🙂 Stay safe!

Have Questions About

My Design Services?

Send me an email and let’s talk!

11 + 7 =

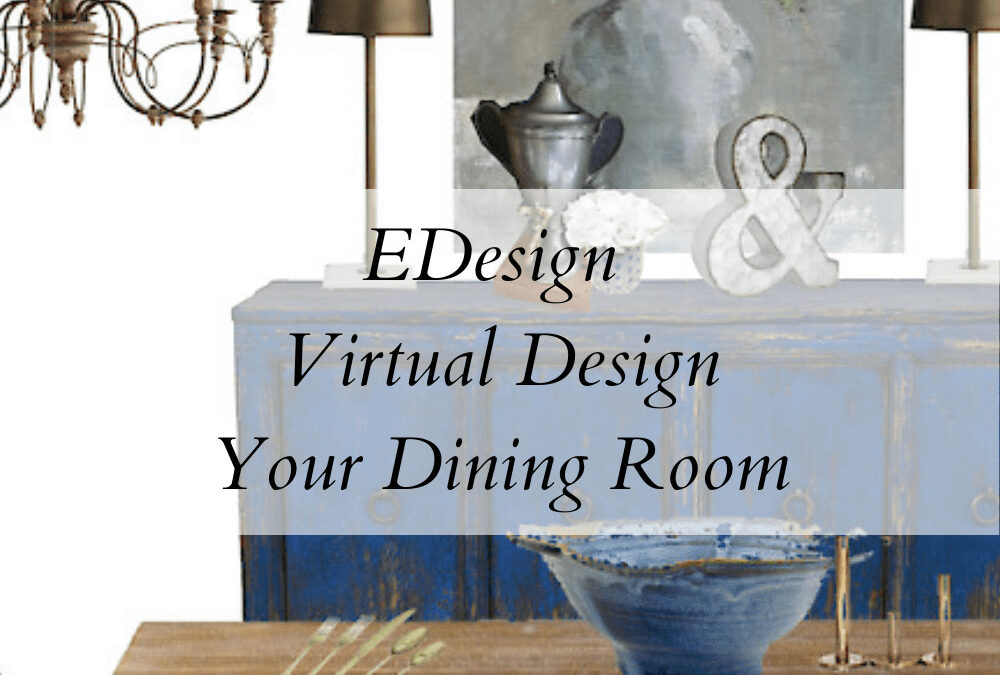
eDesign Dining Room

eDesign Dining Room

Virtual -edesign for Dining Rooms

I don’t know about you but I love to cook! Not necessarily fancy things but good (mostly healthy) food for my family and friends! There is just something so fun about sharing a meal with the ones I love!

Even if you only do take out – having a dining space to gather in is key. 

Maybe your dining room needs and interior design refresh? I can help you via edesign (aka online and virtual interior design) to create a dining space you will love!


Right now, we are sheltering in place because of COVID and hanging out for a shared meal with friends is not possible.

But we can dream and plan for better days to come!

A nice comfortable, inviting dining room really sets the mood for a delicious meal. Did you know that we can work together to design your dining room via eDesign? On your schedule, at your pace, from the comfort of your home and all online!

I offer eDesign Service for my clients all over the USA! Let’s collaborate and virtually design your dream space!

eDesign process example:

As you can see, my virtual interior design process is efficient but fun! I offer an online interior design platform that you log into to see your project – 24 hours access.

Please stay safe! Best wishes of health & peace to you & yours!

nest-obsessed-interiors-Instagram-link

Have Questions About

My Interior Design Services?

Send me an email and let’s talk!

Interior design services, offered virtually/online. Online interior design anywhere in the USA. 

Top 3 Reasons Why You Should Hire an Interior Designer

Top 3 Reasons Why You Should Hire an Interior Designer

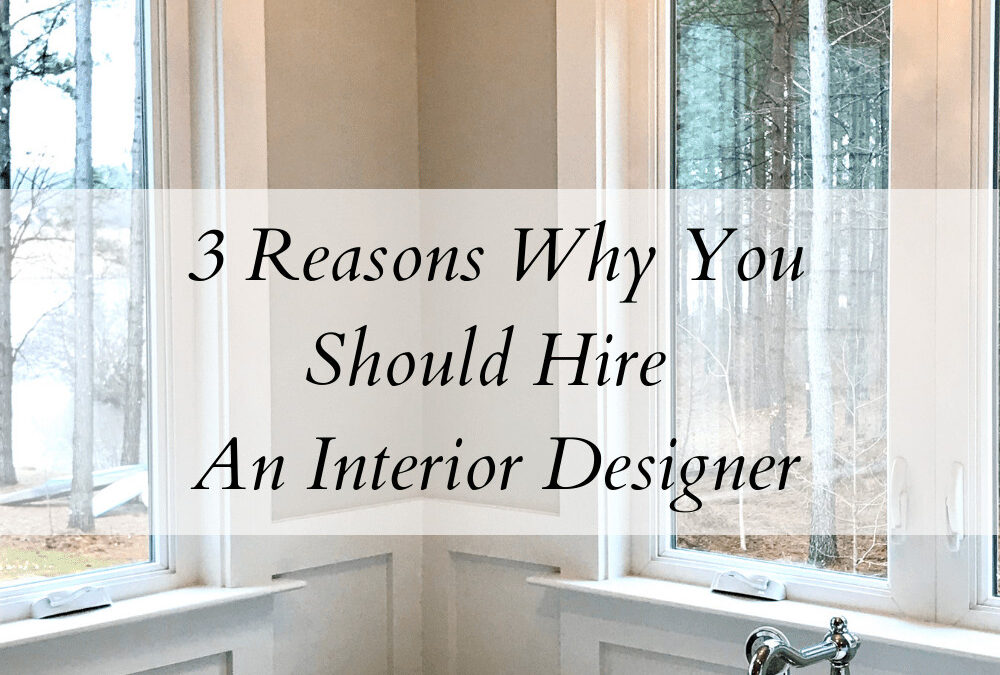
Master Bathroom designed by Nest Obsessed Interior Design

Before I go into the top reasons, please bear with me while I go off on a little tangent….:)


Lesson of the Day: An interior designer should be hired at the beginning of the project…not half way through.

Please trust me on this. If you are on the fence, it is best to jump over and bring me in on the project now rather than later.


Keep in mind that 75% of good design takes place during the architectural design phase and framing phase of the project. After that point, most changes will end up being costly. 

Just ask my clients, they will tell you it is true: Once you work with an interior designer that you like, chances are super high you will not go it alone on future projects.


I always say, “It’s hard to know what you don’t know.”

___________________________

ONE:

You have hired a builder / contractor…

It may seem like you are all set BUT most likely you still need an interior designer.

Most contractors will be able to offer some design advice.  They are often put on the spot to solve design issues. However, design is not really their focus. The builder is watching (thankfully) over SO many details: code requirements, permits, structural integrity, material quality, sub-contractors, timeline, etc.

An interior designer is making sure the layout of your shower plumbing works for you and your significant other’s heights.  She knows how many times a week you wash your hair and if a rain shower head is actually functional and other personal showering details, etc.

THE SOLUTION: 

I will be the “communication bridge” that connects you and your contractor to make your designs come to life. I will be there to “walk you” through your floor plan AND help you visualize what is actually happening through mood boards, perspective sketches and elevation drawings.

“Like, seriously…how high are my window sills in relationship to my height of my tub?”

“How high should the shower knee wall be? Where should the wainscot stop and start?”

“Which direction should I run my floor tiles?”

If I need to, I will get on a ladder to make sure your trim is placed the way you want it! 🙂

___________________________

TWO:

You have “Option Paralysis”…

You have a new design project in mind. You know what you like. You have pinned TONS of photos and spent endless hours on HOUZZ. COM. You are excited and think, “This can’t be that hard, I have great taste and I have the internet on my side!”

You rush out to the store and find a few things that seem right and buy them. You come home and although you love them, they don’t work with what you already have. You don’t have an overall plan in place and now you are STUCK, like in quick sand and you can’t move forward.


THE SOLUTION:

I will help you sift through all the options. We will create a design plan, an overall vision. Although you will still have fun shopping and exploring ideas, I will keep you on track for a great end result. 

______________________________

THREE:

You are “anxious” and are not enjoying the idea of such a huge project…

You know this is going to entail spending some money. You don’t want to make a mistake. This fear keeps you from sleeping well at night.

THE SOLUTION:

I will ask many questions and it is my goal to learn what you like and what works for your lifestyle.

I will guide you and “hold your hand” through the design process. I am your design buddy!

I will take your ideas and make suggestions you would have never thought of…to create the space of your dreams!

_____________________________

Consider your budget…It is a common thought to wonder how much an interior designer will cost…

You look at your budget and think about how much extra stuff you could “buy” instead of spending money on interior design services. I hear this one a lot. Then I hear later about the mistakes made and things forgotten and how this caused so much stress. Entire houses built without thinking about what furniture fits where and on and on. If you want proof of this, take a look on Houzz.com chat pages.  You will see how many people there are writing in and asking how to fix design mistakes. Unfortunately, many still have not learned from the past and asking for free advise, from non-professionals…go figure. It also pains me to see how things could have been and now it is too late.

The sad thing is, the total cost of the mistakes almost always ends up being way more than the cost of what would have been spent on interior design services in the first place.

You could ask a fashionable friend or neighbor for advice. However, they are probably not trained to look at things with an objective eye. so they will almost always confuse their taste with yours…which can makes things muddy.


Enjoy the process! Get it right the first time!  I would love to help you:)


How To Style A Foyer

How To Style A Foyer

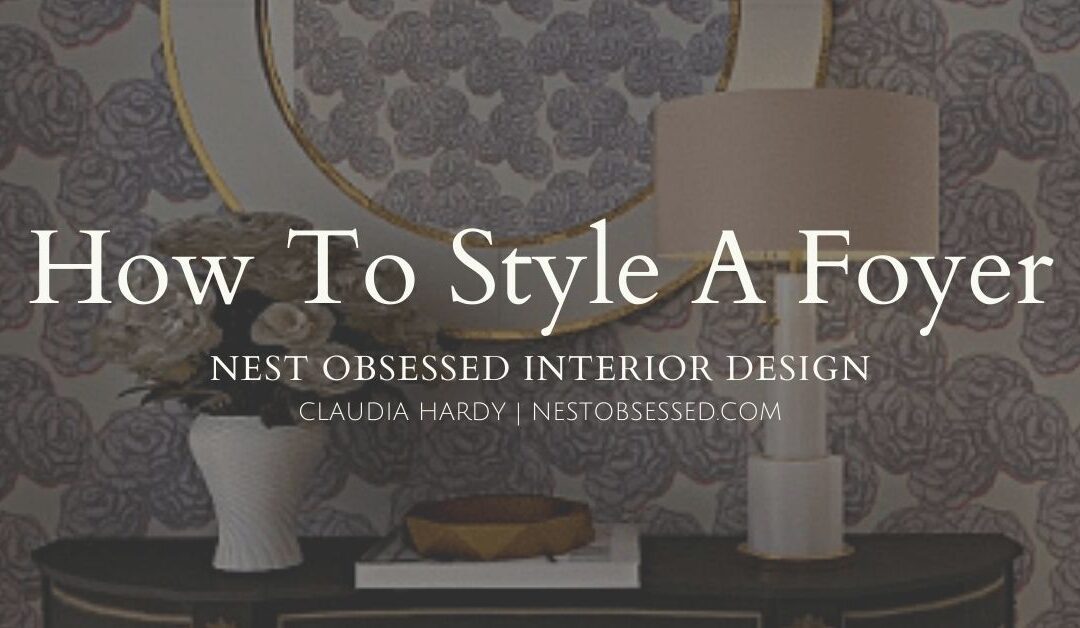
I am sure you know basically what should go in a foyer or entryway but how do you make it your style and not vanilla toast? Learn how to style your foyer with the right details: furniture, wall decor, accessories, and rug.

Your Foyer (aka your Entry) ideally sets the tone for the style of your house. It should be welcoming, functional and beautiful. Interested to know the styling tips? Read on…

If you haven’t taken my STYLE QUIZ, please do – it’s at the bottom of the page. It is fun and can help you get on the right track for refining your style!

I am going to break down my Foyer Styling tips into 6 sections: Boho, Cottage, Natural, Farmhouse, Glam, and French. Scroll through to check them out…


Entry Styling for The Vintage Modern Boho Style

The Vintage Modern Boho Style Mix entry is casual cool. You are hip and want to show it off!


Entry Styling for The Vintage Modern Cottage Style

The Vintage Modern Cottage Style is about a cottage feel but not too country. Cleaner lines and color is welcome. Black accents ground the look. An entryway in this style should say “welcome home”!


Entry Styling Tips for The Vintage Modern Natural Style

Vintage Modern Farmhouse Style has a touch of rustic but overall a clean fresh look! Texture, neutrals and iron!


Entry Styling tips for the Vintage Modern Farmhouse Style

The Vintage Modern Natural Style is all about nature, texture, wood, and pottery. Earthy elements!


The Vintage Modern Glam Style Entry

The Vintage Modern Glam Style Entry is going to say “look at me”…a wall decal or glamorous wallpaper would be perfect here! Add in sparkle and pops of color!


The Vintage Modern French Style Entry

The Vintage Modern French Style is elegant and traveled. Classy and interesting!

Create a Gallery Wall of Envy (In a Good Way)

Create a Gallery Wall of Envy (In a Good Way)


Lately, I’ve had a few requests to help clients create a Gallery Wall.  Some want to work with family photos and some want to use art.

I gotta say, I approve! They really do give great visual impact and personality to a space.

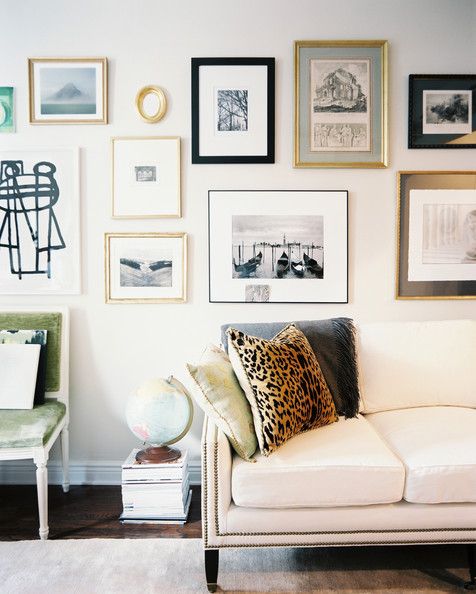
Lonny Magazine, one of my online favorites, has some great photos if you need inspiration.

Of course, just Googling Gallery Wall images will satisfy you with enough eye candy for hours of enjoyment.


Okay! Let’s talk about how to do this and make it look amazing!

Gather your Art

This is something that you should put some thought into. Most likely it’s going to take a little bit of time and thought to collect the right pieces and have enough to get started.

I think that some people are intimidated since this seems like it could be intense. It could be…it’s true.

There are gallery walls that have a lot going on and are very artfully set up.  If you decide to challenge yourself to do it at this level, drink some wine and go for it.

Seriously though, is this an installation or what? This was not done in one day, I am quite positive about that.

TODAY we are going to focus on something more attainable.

I’m not always into following the rules when it come to design. But when I’m asked to give advice, seems like people often prefer to have a few guidelines in place.

SO, I will list a few but don’t feel like you have to stick to them.

A few rules of thumb

In my opinion, you need at least 7 pieces.

Focus on a Theme or Subject

One style of gallery wall is to keep all art being of the same subject and/or similar color. With this thought, you can use different styles and colors of frames that appeal to you.

Have some sort of visual continuity

If you’re working with different subjects, It can help to have similar types of frames or a few repeating frame styles to tie everything together visually.

Like below, simple frames, lots of white mats, different subjects but all graphic in some way.

If you want to add an additional element of interest:

Add a 3D element into the mix – (I love taxidermy, faux preferred but still strangely fascinated by the real – even though I LOVE animals!)


http://www.elledecor.com/

Mix Old and New

OR

Add a Mirror

HANGING IT

Step One:

Measure the wall space that you have and leave a good two feet or more around the perimeter as negative space. That said, you might want to consider leaving space for your wall to “grow”. Ask yourself, do you want to add to the collection in the future? You probably will be talking out loud to yourself as you do this.  It’s OK. Believe me, it helps!

Step Two:

Layout your art on the floor, staying within the measurement that you took from the wall. It can help to have one or two larger size pieces to center the arrangement. Sometimes it helps to use a column effect where you’re basically going straight up and down but leaving at least two to three inches between each piece. If you’re feeling really creative you can just work with the shapes of the frames and create an interesting collage effect.

When you get it just right take a picture of the layout.

Step 3:

Using some sort of craft paper or brown paper bags trace each frame and cut the shapes out with scissors. This seems like a pain in the tail to do. Yes, it is. However, it’s worth the extra time to hang them in the correct spot and avoid messing up your walls. Make quick note on each piece of paper as to what piece of art it refers to.

Step 4:

Using the photo you took as your guide, take painters tape and start taping these pieces of paper up. Then get your hammer and picture hooks and get to hanging!

Crate and Barrel has a good tutorial here


http://www.crateandbarrel.com/wall-gallery

Step 5:

Stand back and admire your great work!

Don’t forget, you can go floor to ceiling too! You know I love a bit of Drama!

If you love art as much as I do, it’s pretty cool to have it all in one area. Then you can just sit back and admire your collection. Realizing your space kind of rocks.

concept-board-nest-obsessed-interior-design-living-room-gallery-wall 2


Still feel like maybe you’d rather have some help? Let’s do it together! Shoot me an email and let’s talk about getting started!


Have Questions About

My Design Services?

Send me an email and let’s talk!

1 + 4 =